

How-to
Create and Manage Projects
Previously: How-to Manage Data Connection.
This section guides users how to create and manage projects.
To create a new project, click on the +Project button.
 This will bring up the dialog window as shown below.
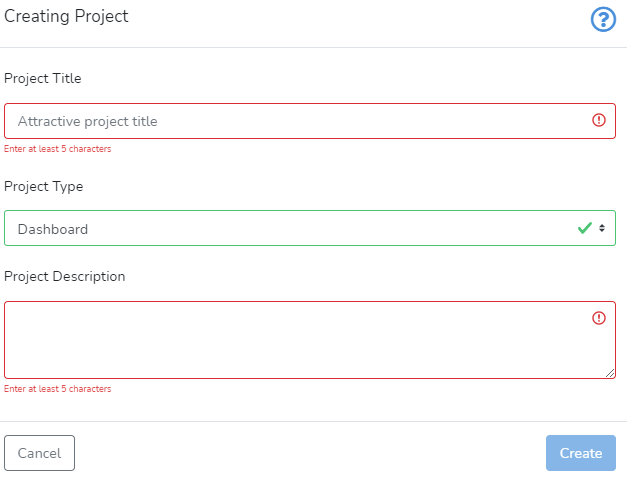 The user needs to specify the Project Title. The project title should be informative to avoid confusion with other projects.
Project Type is selected from the drop-down menu.
Currently, we offer only Dashboard project type. We are working on bringing more project types to DataYeet.
The user can use the Project Description input field to provide additional information.
The Create button is disabled until the user provides all required information about the project.
Clicking on Create saves the inputs and creates the project. After that, the user will be taken to the project page. An example of the newly created project page is shown below.
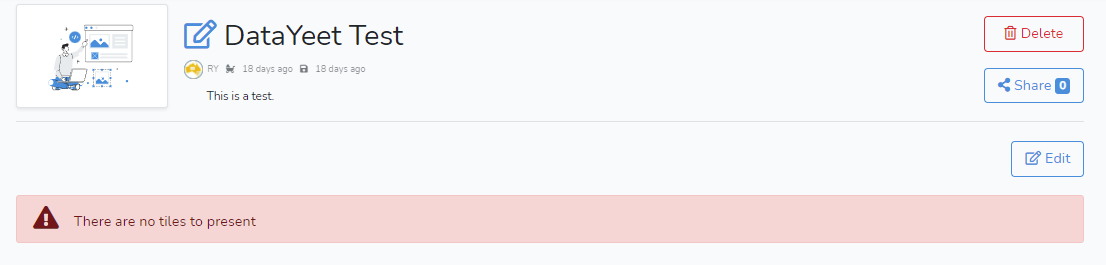 While the project is empty, it will say in red that there are no tiles to present. How to populate the project with tiles and tabs is discussed in How-to Create Tiles and How-to Create and Manage Tabs.
Clicking on Projects in the top navigational bar will bring the user to the Project section with a list of all projects available to the user.
Each project is presented in a preview. An example of a preview is shown below.
 The users can see all projects that they created or that were shared with them. View button takes the user to the project page in a view mode. If the user is authorized, three extra buttons are available: Delete, Share and Edit. Next to the Share button, there are icons representing with whom and how the project was shared.
For specifics click on the corresponding item below: