

How-to
Create and Manage Tabs
Previously: How-to Create and Manage Projects.
This section guides users how to create and manage tabs.
The user can split projects into tabs (pages) to logically group tiles.
Adding Tabs
To add a new tab, switch to the Edit project mode and click on the +Tab button.
An example image of a project with added tab is presented below:
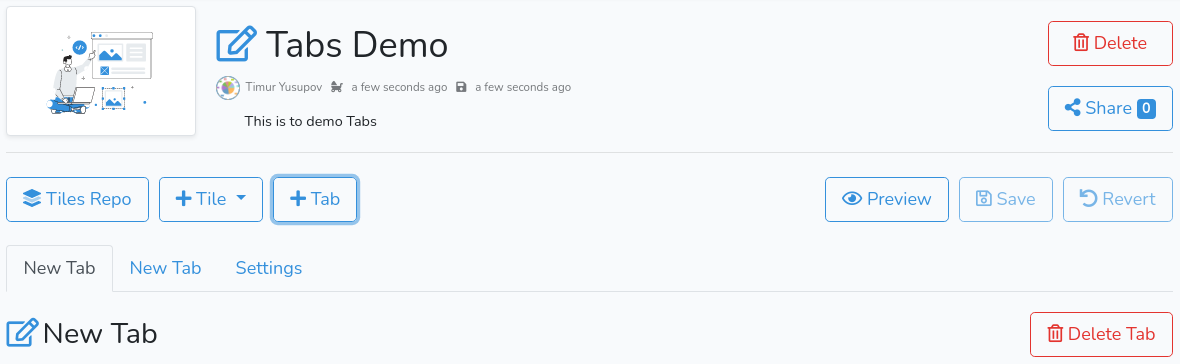
If the project had no tabs - new and existing tabs both will have default titles.
By default, the new tab will have a default title "New Tab". To change the tab title - click on ![]() edit icon next to the title. To save the changes in the title - click on
edit icon next to the title. To save the changes in the title - click on ![]() save button.
save button.
When there is more than one tab - the Settings tab is available.
Settings
An example of the settings tab is presented below:
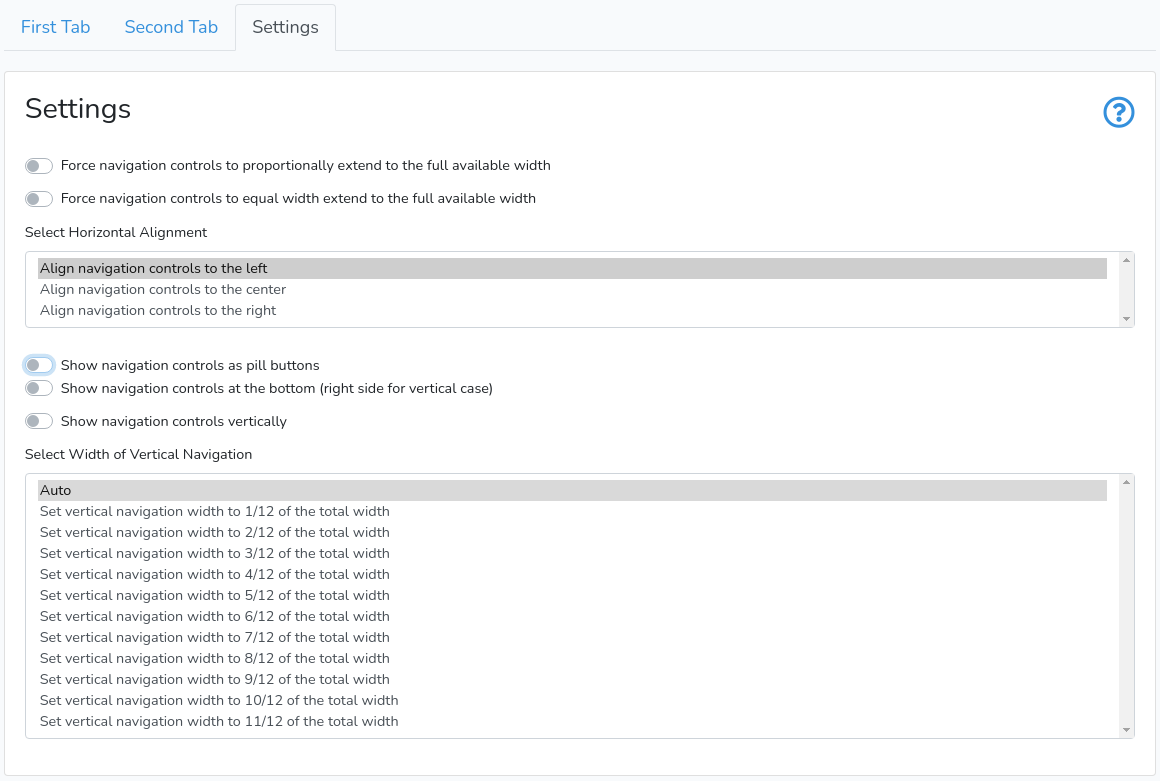
These settings allow to control the horizontal spacing of the tabs, position on the top, left, or bottom. The user can present tabs as buttons (pills).
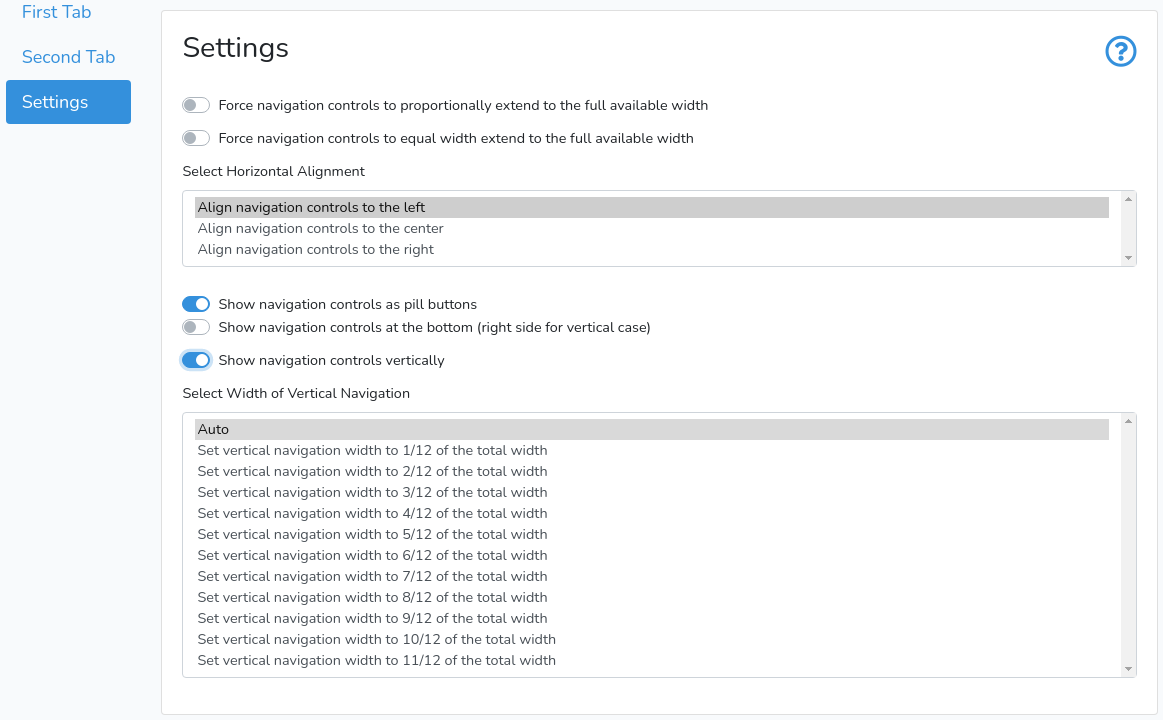
To place tabs to the right - switch on Show navigation controls at the bottom and Show navigation controls vertically.
When the tabs are shown vertically - they are automatically switched to pills. To control how wide tabs in vertical position should be - the user can switch between one of twelve predefined proportions.
Deleting Tabs
To delete a tab - click on Delete Tab in the corresponding tab. The user will be presented with a confirmation dialog. To confirm - click on Delete.
If after deleting there is only one tab left - the Settings tab will be hidden.
Next is How-to Create and Manage Tiles.