

How-to
Create and Manage Tiles
Previously: How to Create and Manage Tabs.
This section helps with creating and managing tiles.
The visualization content of any project is subdivided into tiles. Each tile holds one specific visualization type or control. This section provides guidance on how to create tiles for charts, map charts, diagrams, other visualization types, and control tiles. This approach allows for an easy layout setting, tiles and visualizations resizing and moving them around.
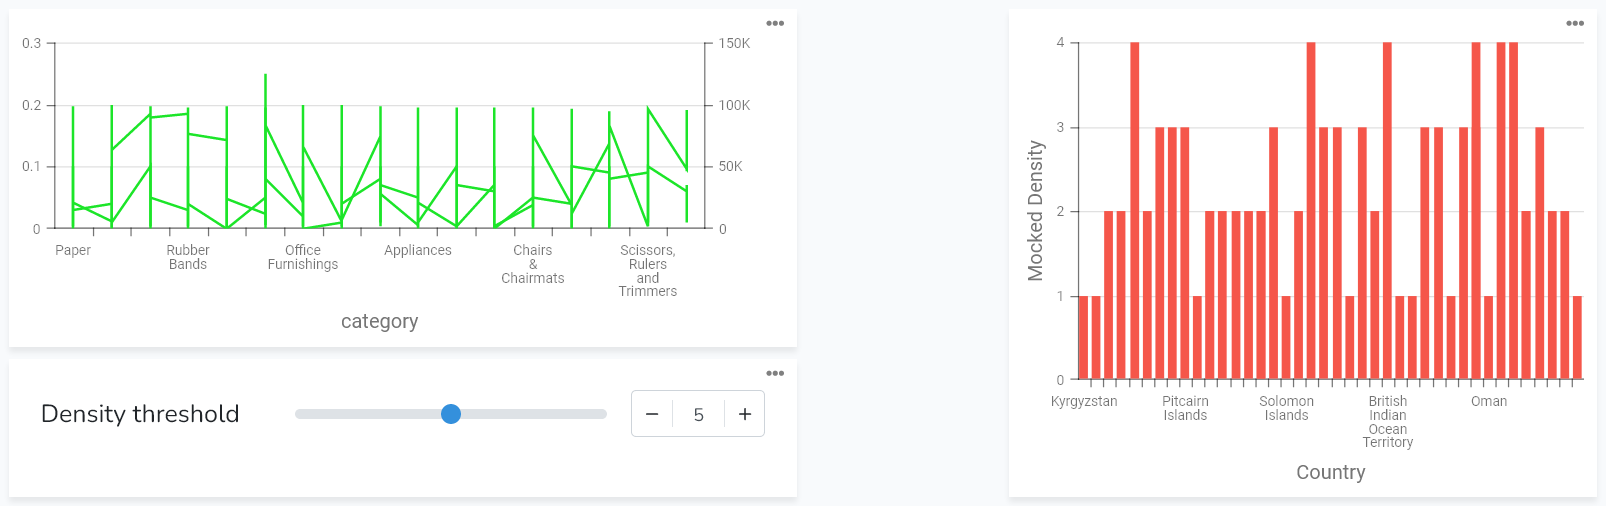
There are two main types of tiles: Control tiles and Content tiles. Control tiles are for adding controls to make interactive charts. Controls allow filtering data used for visualization on the fly. Content tiles are for charts, map charts, diagrams, and other content.
Create Tiles
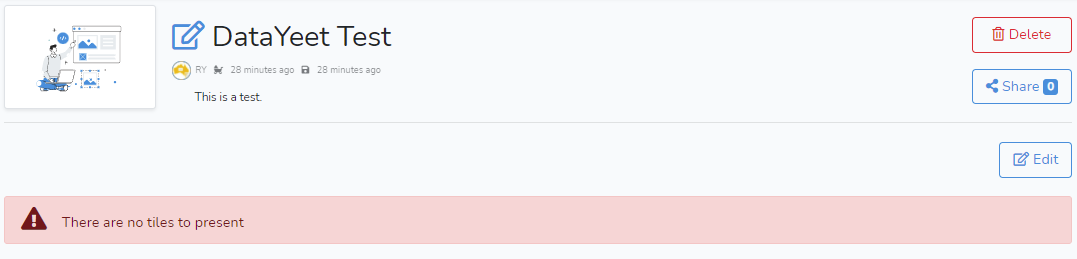
To add a new tile, click on Edit on the project page to switch to the edit mode.
In the edit mode, there are available additional buttons.
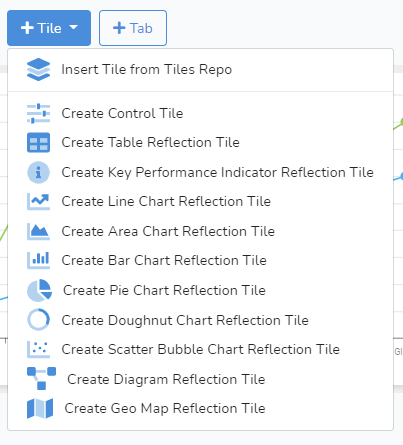
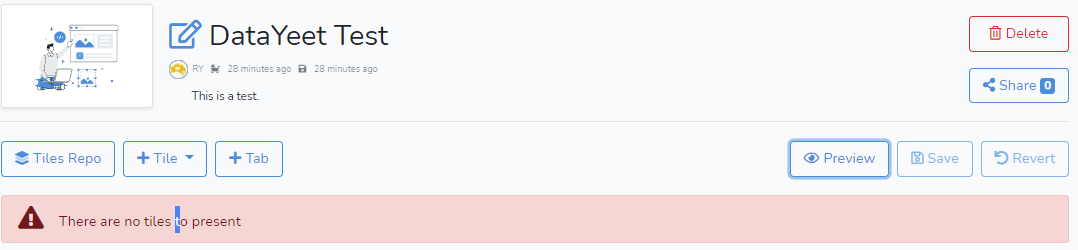 Next, click on +Tile which will show a drop-down menu with the list of supported tiles. The user can select the required type from the list.
When a tile is created - it is automatically added to the Tiles Repo of the project. The tiles stay in the repo even if they are deleted from the page. They can be inserted into the same or other tabs within the project later on by clicking on Tiles Repo and selecting one of the tiles.
The links below provide guides on how to populate the project with specific tile types.
Edit Tiles
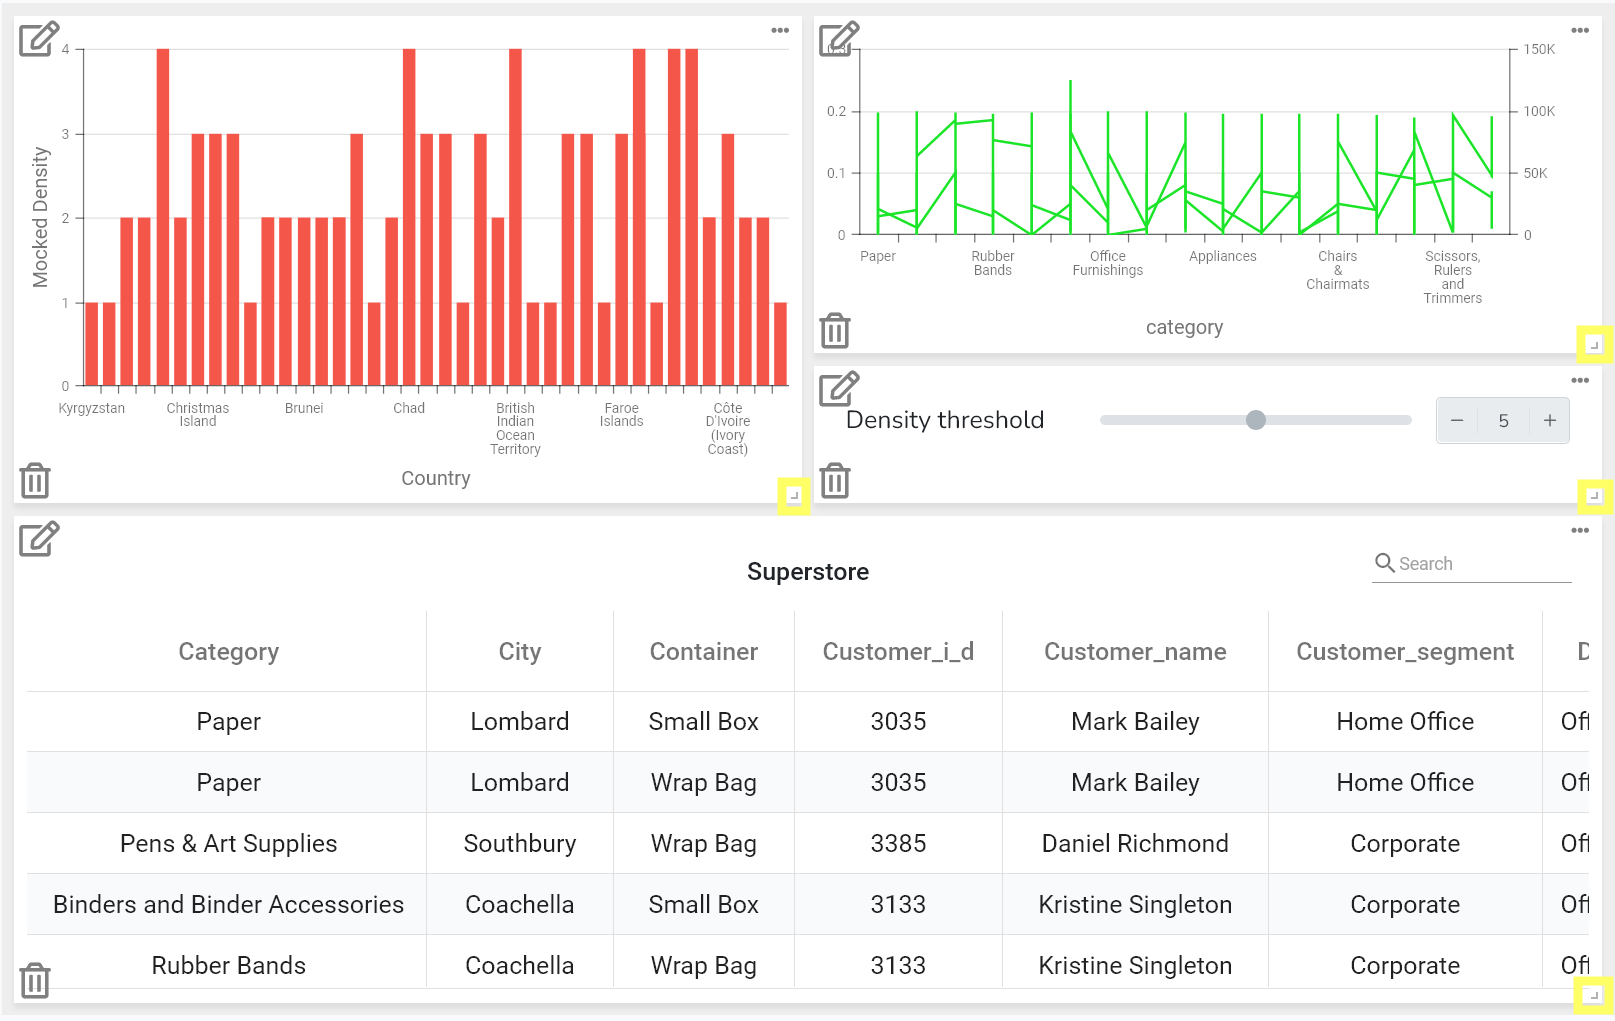
To edit a tile, click on Edit on the project page to switch to the edit mode.

This will show action icons in the corners of the tile.

Next, click on the Edit icon ![]() to open the edit dialog.
to open the edit dialog.
All content tile settings can be edited here.
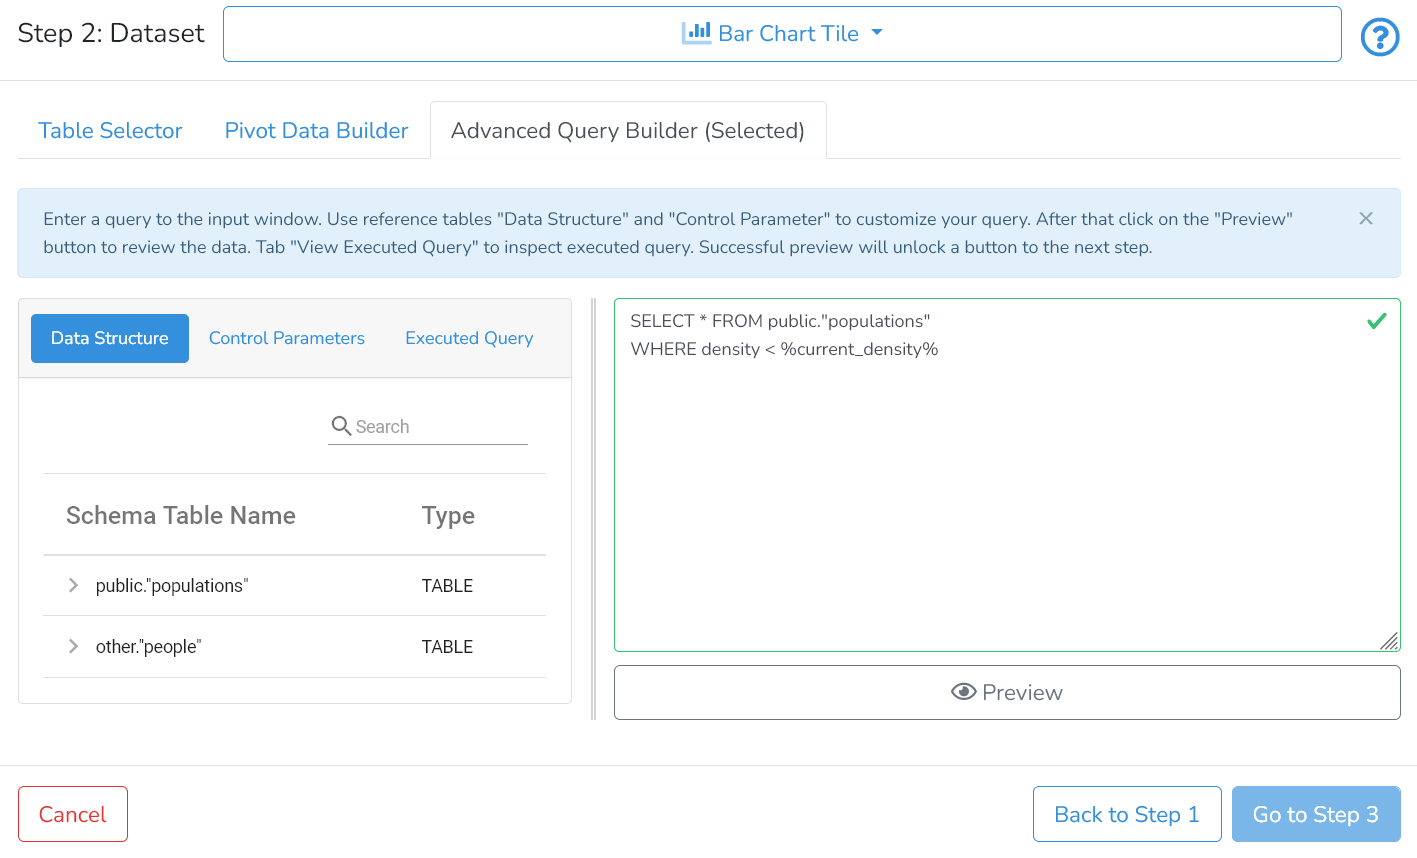
For most of the tiles, editing starts at Step 3 that is focused on formatting.
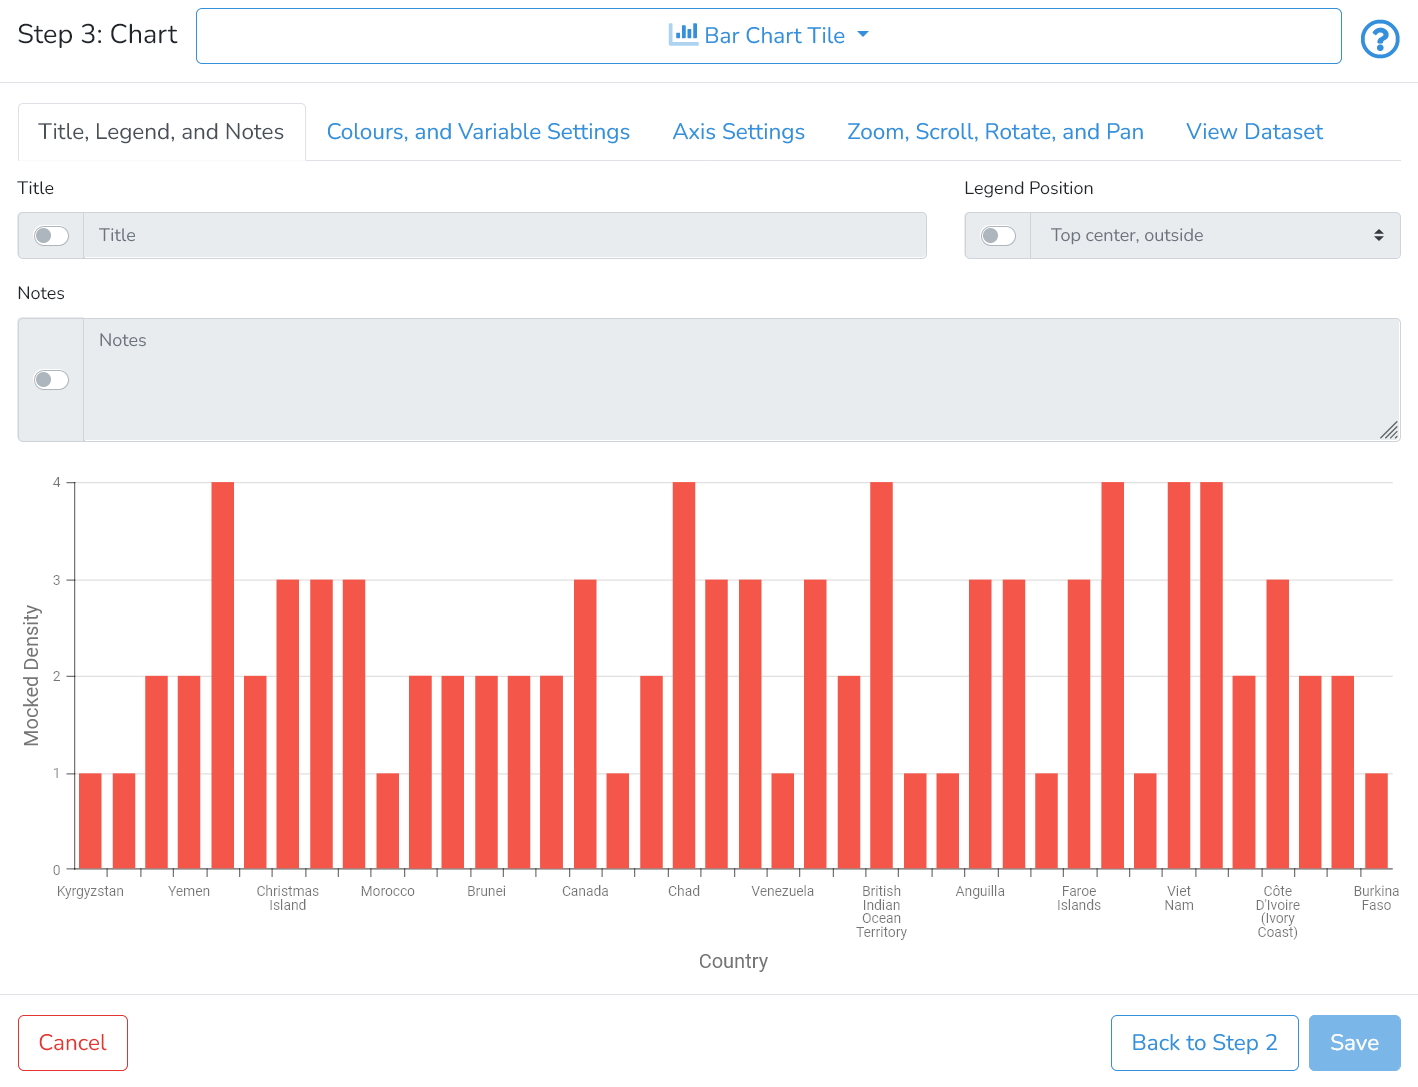
If required - the user can move to Step 2 to modify the dataset or to Step 1 to change the data connection.
Note: For PostgreSQL and Oracle - the names of schema, table or variables are normally case insensitive. If special characters are used (including space), or capitalization of some or all letters in the name is important - these names should be surrounded by double quotations.
For more details on specific aspects of editing - refer to the pages linked above on how to create specific content tiles.
The user can view the project with the edited tile by clicking on Preview. To save the changes, click on Save or return to the previous version by clicking on Revert.
Resize Tiles
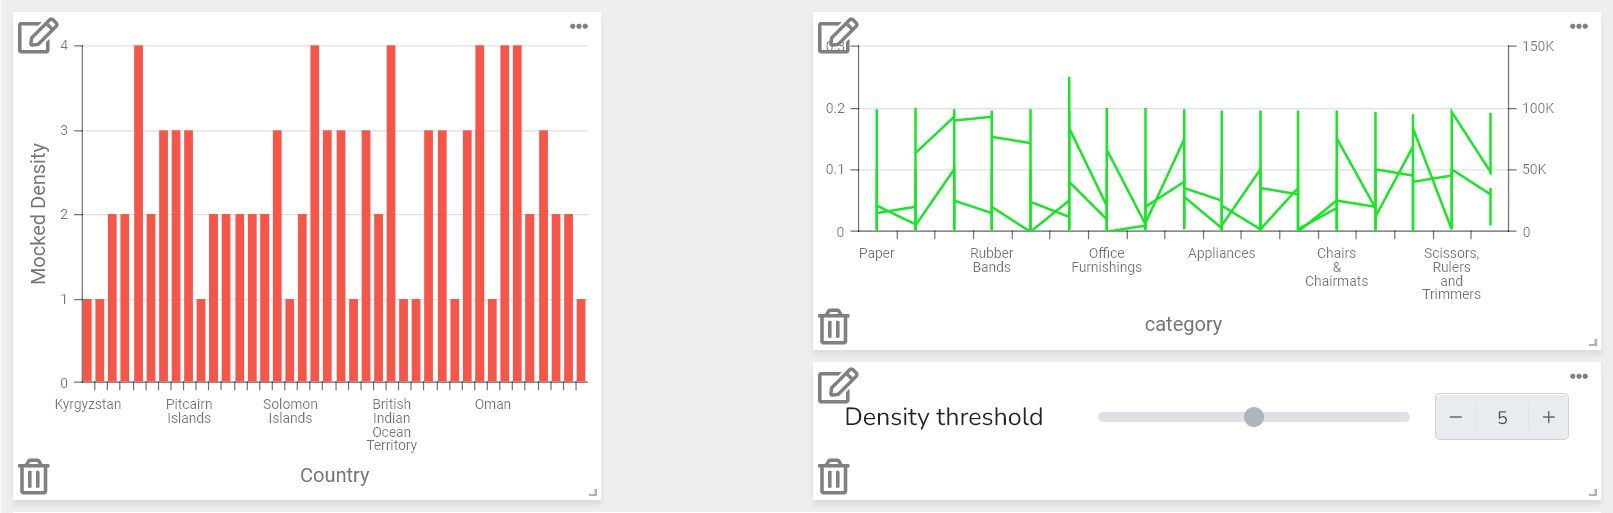
To resize a tile, first, click on Edit on the project page to switch to the edit mode. Next, click and hold the right bottom corner of the tile and drag the corner outwards or inwards to achieve the required size.
There is a minimum tile size constraint. The maximum is limited by the width and height of the project container.
The user can view the project with the resized tile by clicking on Preview.
To save the changes, click on Save or return to the previous version by clicking on Revert.
Move Tiles
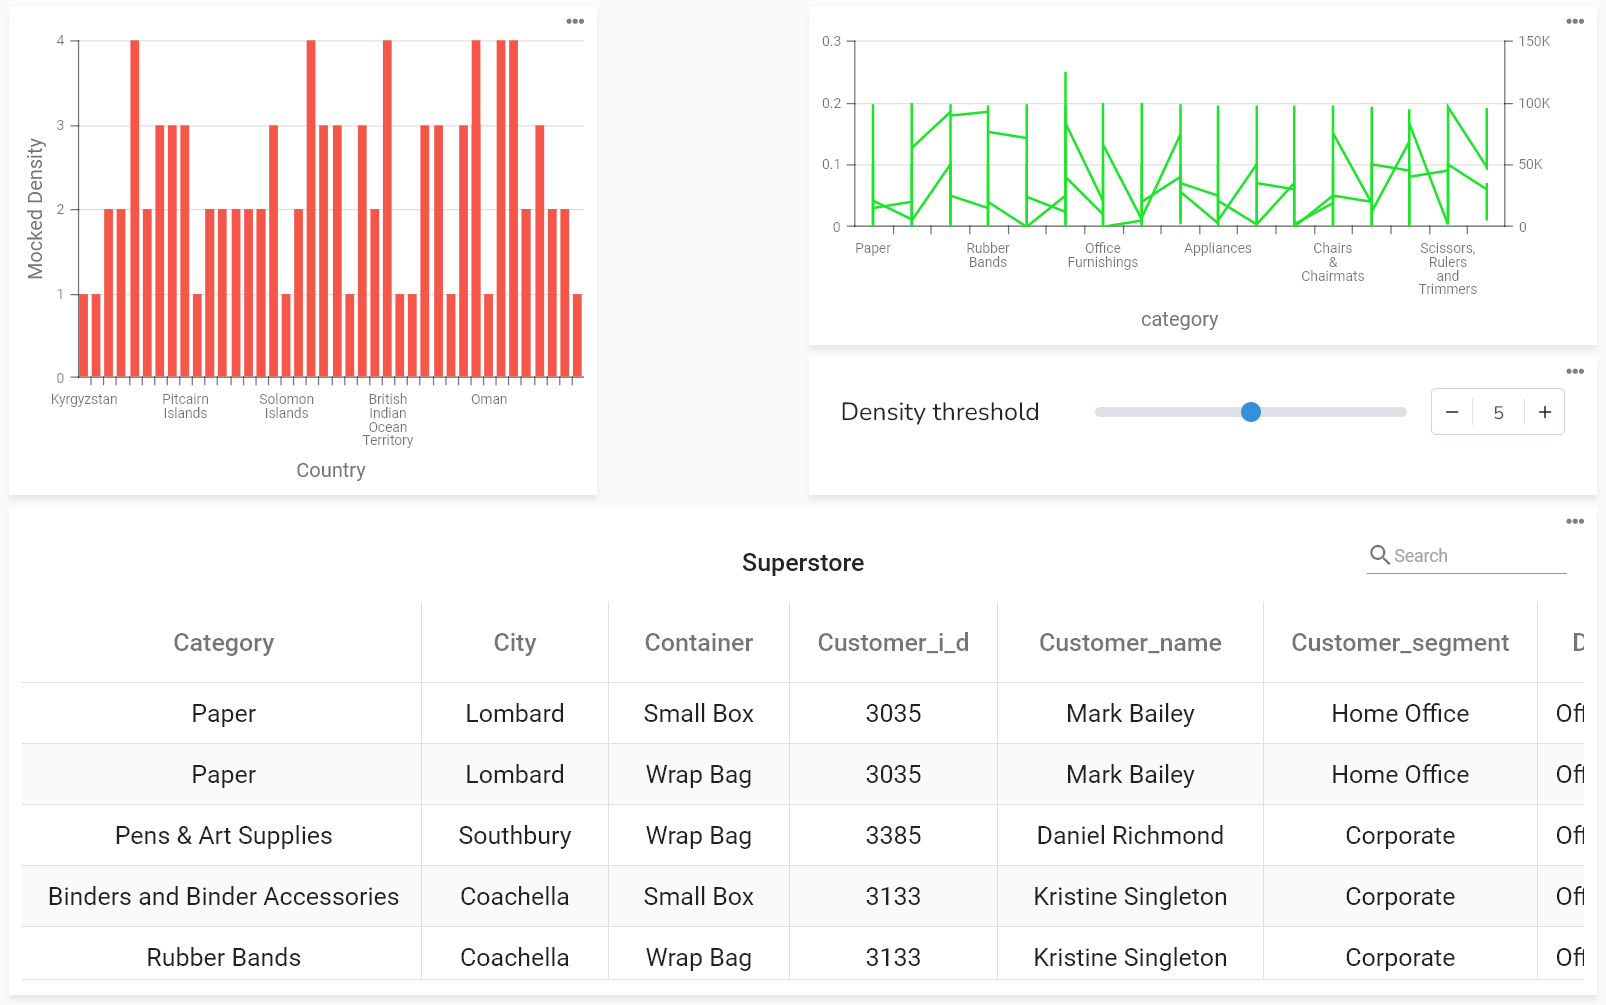
To move a tile, first, click on Edit on the project page to switch to the edit mode. Next, drag the tile to the desired location.
The user can view the project with the moved tile by clicking on Preview.
To save the changes, click on Save or return to the previous version by clicking on Revert.
Delete Tiles
To delete a tile, first, click on Edit on the project page to switch to the edit mode. Next, click on ![]() icon in the left bottom corner of the tile.
icon in the left bottom corner of the tile.
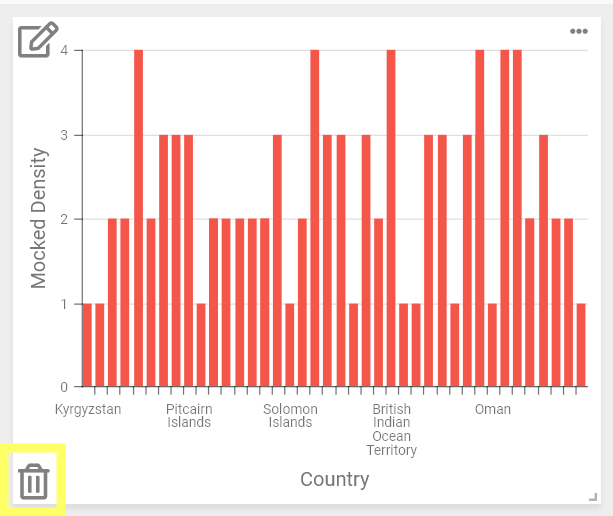
This will bring up the confirmation dialog where the user needs to confirm the decision to delete the tile.

The deleted tile will be still available in the tile repo. The user can completely remove the tile by deleting it from the repo.
The user can view the project with the deleted tile by clicking on Preview.
To save the changes, click on Save or return to the previous version by clicking on Revert.
Export/Print Tiles
DataYeet has a built-in export functionality. Users can export projects or individual tiles.
Export formats are different for projects and individual tiles. The table below summarises available options:
| Export To | Content Tile | Control Tile |
| Printer | YES | no |
| YES | no | |
| PNG | YES | YES |
| JPEG | YES | YES |
| SVG | YES | YES |
| GIF | YES* | no |
If the user's browser does not support the specific format - export will fall back to PNG format.
The user can export a tile by clicking on the three dots in the top right corner of the tile. The export is possible only in the project view mode.
This step will bring up the export dialog as shown below.
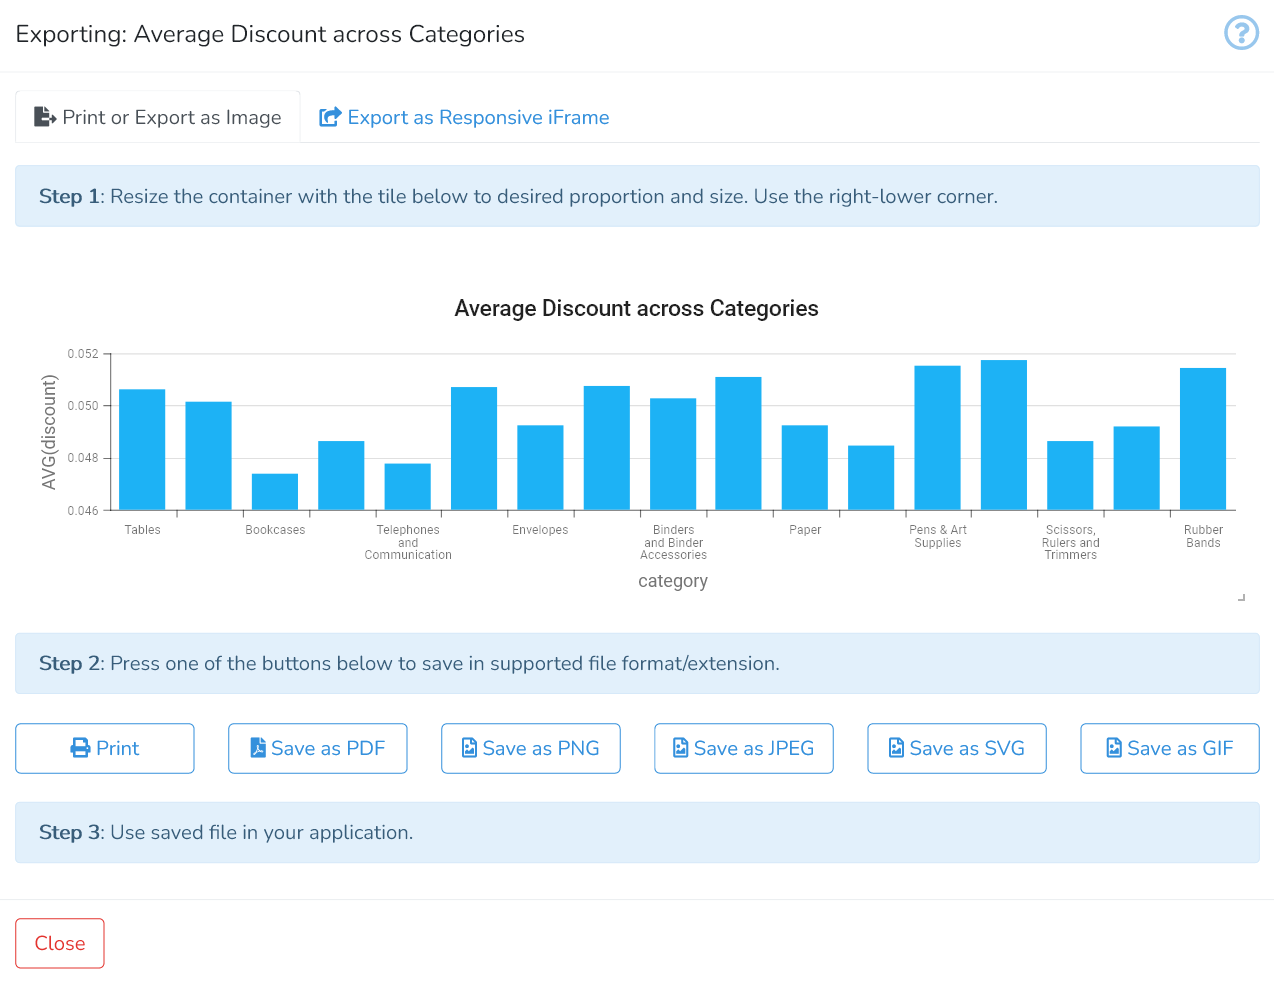
For content tile, there are two options to export: Print or Export as Image, or Export as Responsive iFrame.
Print or Export as Image. Start by resizing the tile to the desired size and proportion using the right-bottom tile corner. Next, select the preferred export file format (PDF, PNG, ...) or Print by clicking on the corresponding button. When printing - the system print dialog will be invoked.
Export as Responsive iFrame. Sample dialog is presented below.
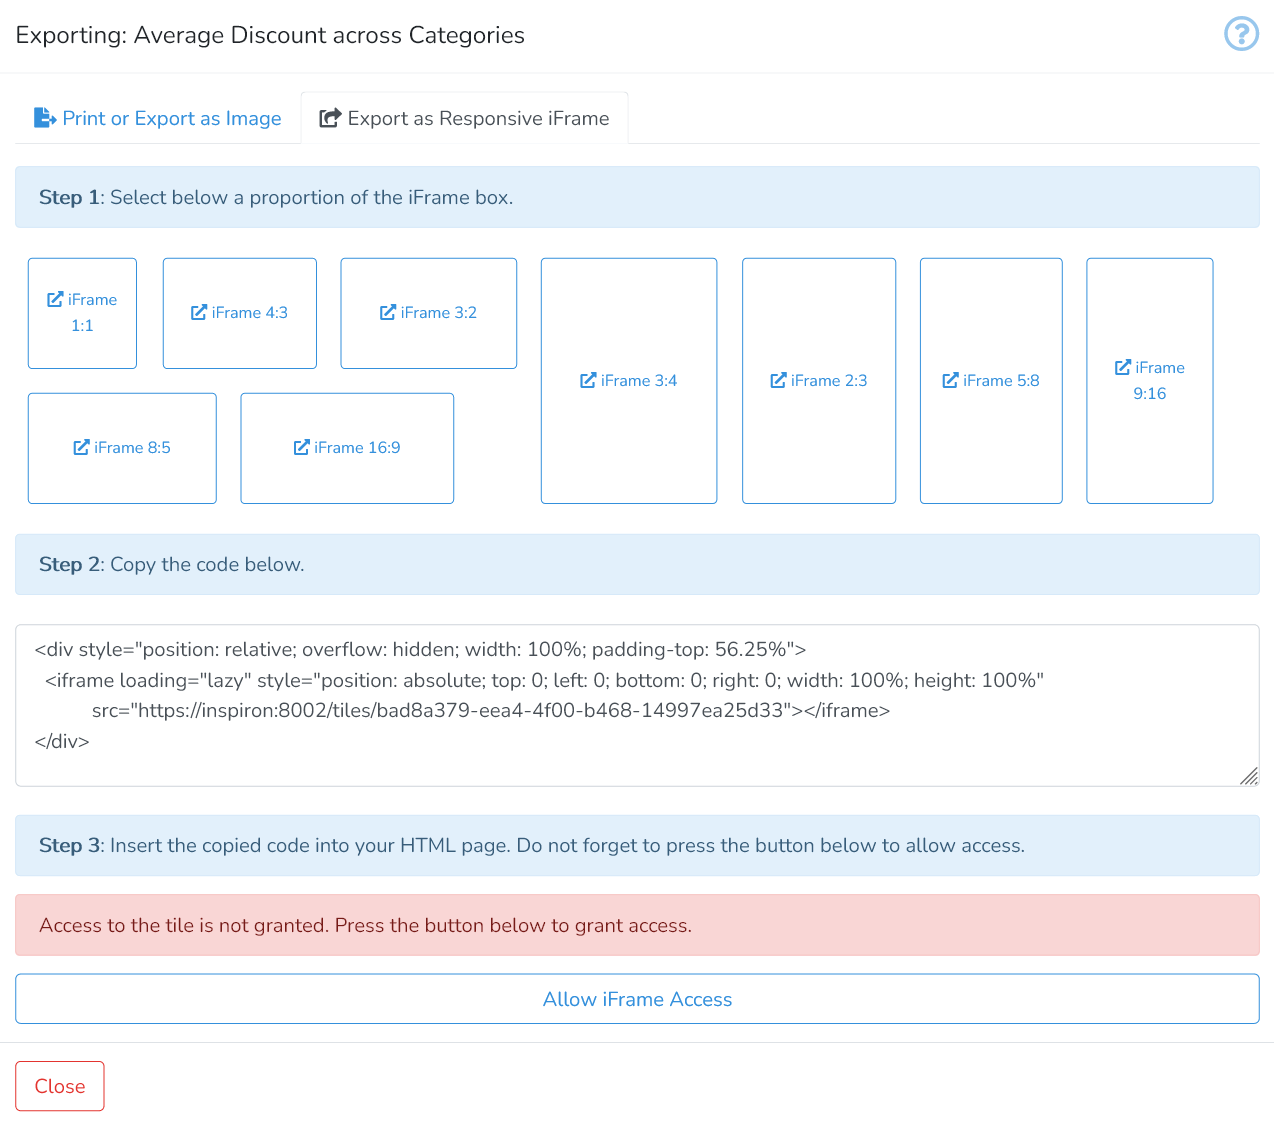
First, select the proportion of the target iFrame box (e.g. 3:2). This selection will automatically alter the code below to match the chosen iFrame proportions. Then, copy the code into the external HTML page where the data from DataYeet will be presented.
Important step: The project must be shared with everyone to allow exported iframes to be visible.
Once all steps are completed, click on Close to close the window.
Next is How to Create Control Tiles.