

How-to
Create and Manage Tiles:
Tables
This is a table-specific continuation of How-to Create and Manage Tiles.
This section guides users on how to create and manage table content tiles.
The user needs to have at least one data connection before any tiles can be added.
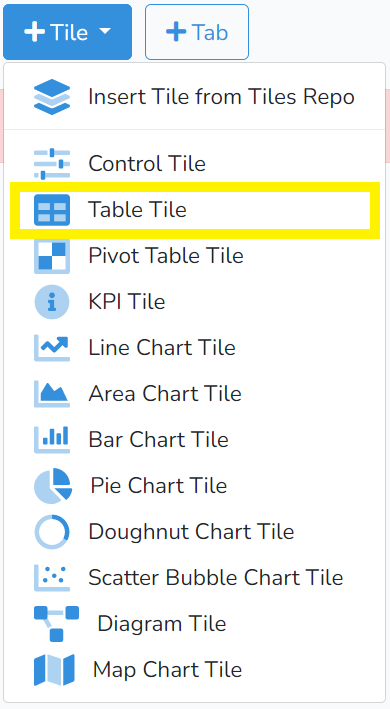
To create a new Table Tile, click on +Tile in the project edit mode. Then select Table Tile highlighted in the picture below.
For most of the content tiles, adding and editing the tile is done in three steps:
1) Selecting the data connection.
2) Selecting the data, and
3) Formatting the chart.
Steps 1 and 2 are described in How-to Create and Manage Content Tiles: Charts.
After completing Steps 1 and 2, clicking on Step 3 will bring up the window as shown below.
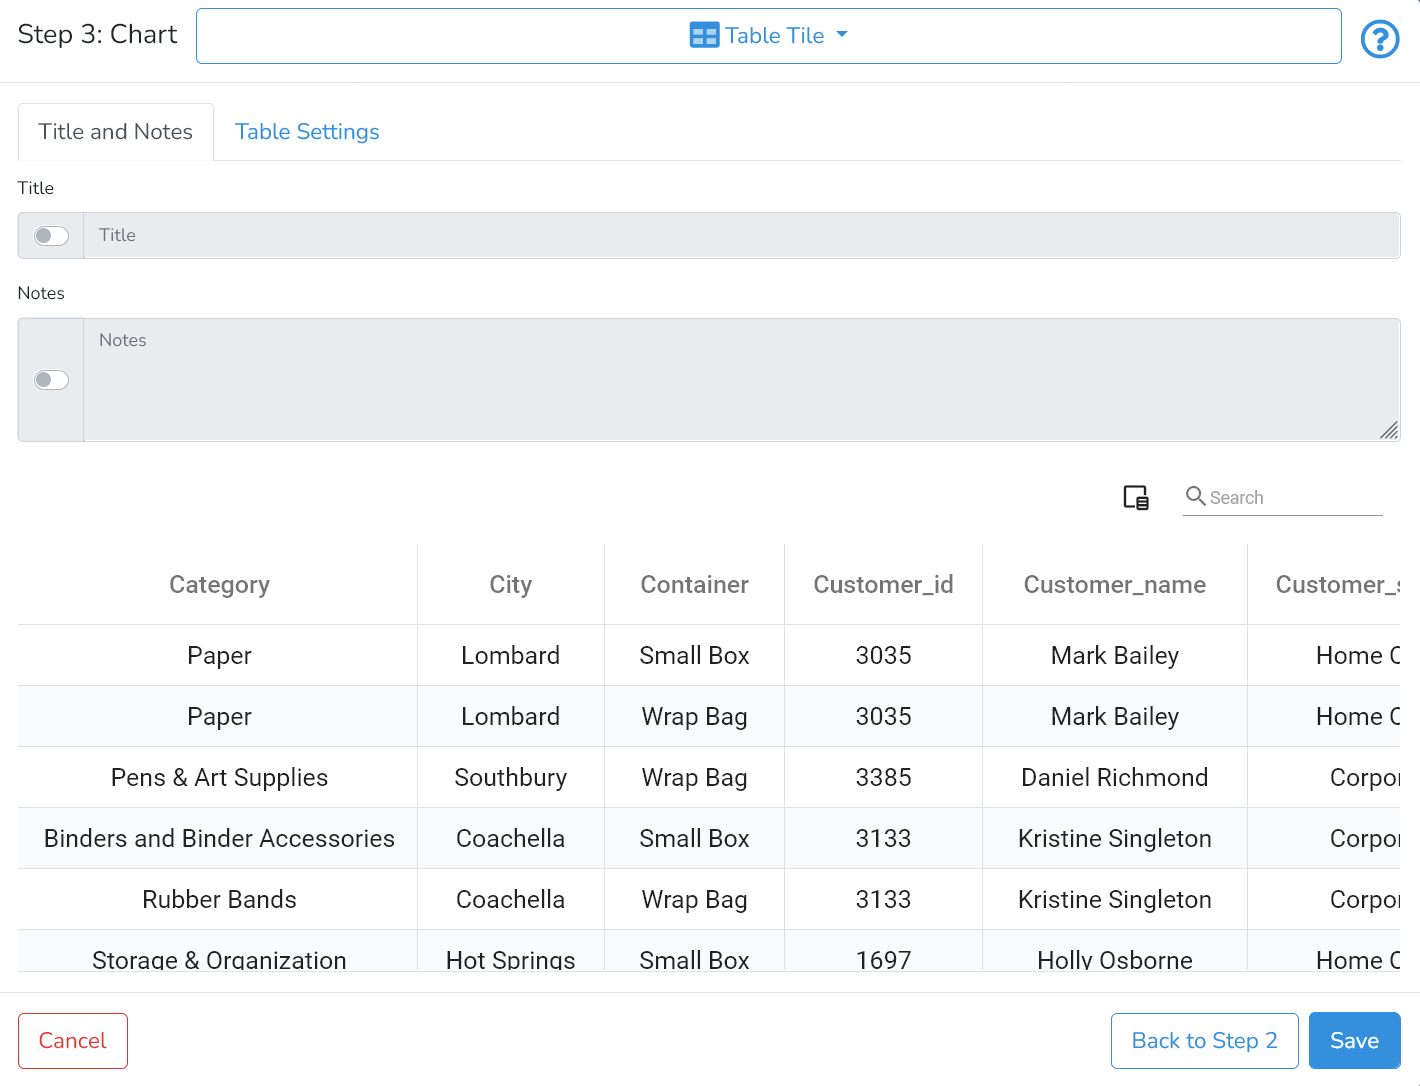
There are two tabs with a range of settings that allow users to format the table. Additionally, the table allows hiding and reordering columns.
Title and Notes
By clicking on Title and Notes the user can specify the Table Title and add Notes, which may help with the interpretation of the table. These fields are optional and the user can control with the switches next to the input fields whether the information should be shown.
Table Settings
To edit the table settings, click on Table Settings tab to switch to this section.
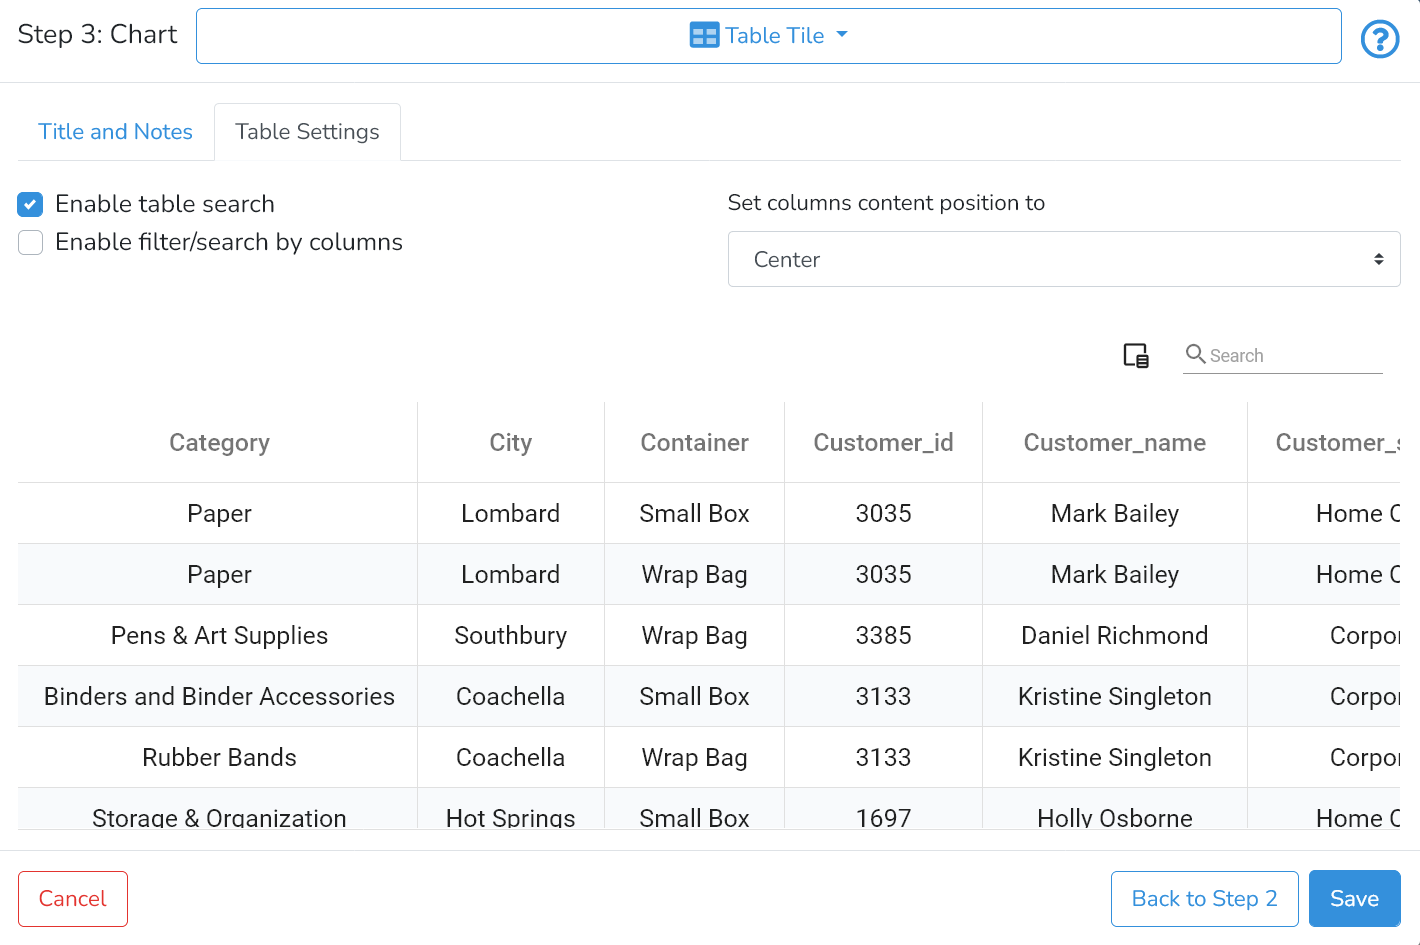
The user can select whether the table can be searched from the search input field (located above the right top corner of the table) by switching on Enable table search. By default - it is on.
Additionally, the user can switch on Enable filter/search by columns.
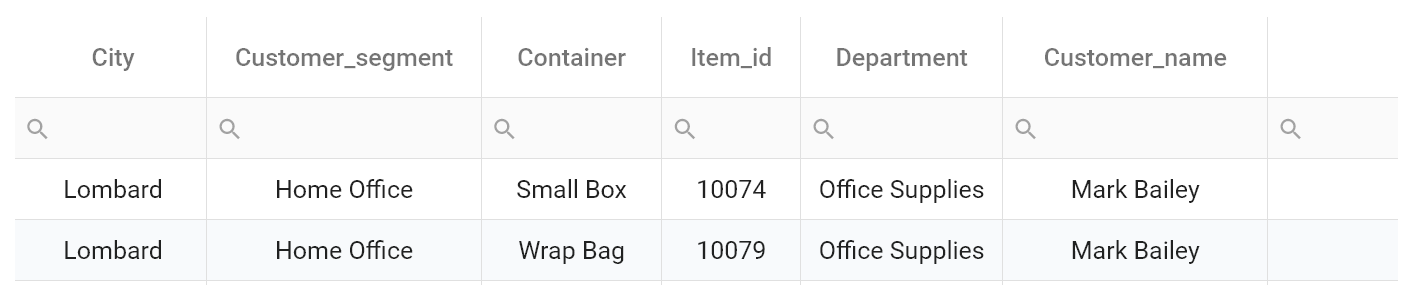 When enabled - an individual search field is added below the title of each column.
Hiding, Reordering Table Columns and Sorting Records
To hide columns - the user should click on the Column Selector icon. It will open a window with hidden columns. To hide another column - drag a header to the column selector area. When done - close the column selector window.
To show columns - click on the Column Selector icon. It will open the window with hidden columns. To show hidden columns - drag them one-by-one from the column selector area to the desired position in the table.

To reorder table columns, click on the column title and, while holding the left mouse button , drag the column to the desired position.

To set a default sorting of records - the user should right-click on the column title and select one of the options. The user can reset sorting by clicking on Clear Sorting.
 To set a multiple sorting of records - the user should additionally hold the Ctrl button.
Any settings selected in the previous steps can be modified by clicking on Back to Step 1 or Back to Step 2 in the right bottom corner.
All changes to the table need to be saved by clicking on Save in the bottom right corner.
Next is How-to Manage Pivot Tables.